
You have recently changed the toner and the printer screen regular shows the message “Low ink”
This is a common problem faced by every printer user. The printer misreads cartridges from the original manufacturer as well as compatible laser toner. It is a simple guide to solving the error and get your machine functioning. We will solve this easily by showing the issue in the DCP (Digital Copier Printer)/MFC (Multi-Function Center) series and HL series of Brother Printers.
Reset Low Ink Message in DCP/MFC Brother Printer Series
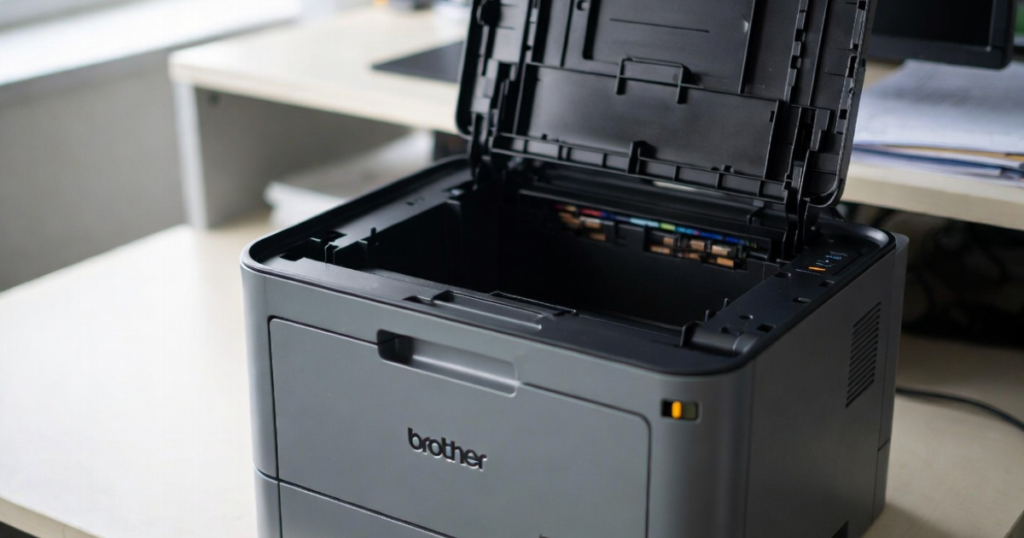
• Firstly Open the compartment door of the front toner.
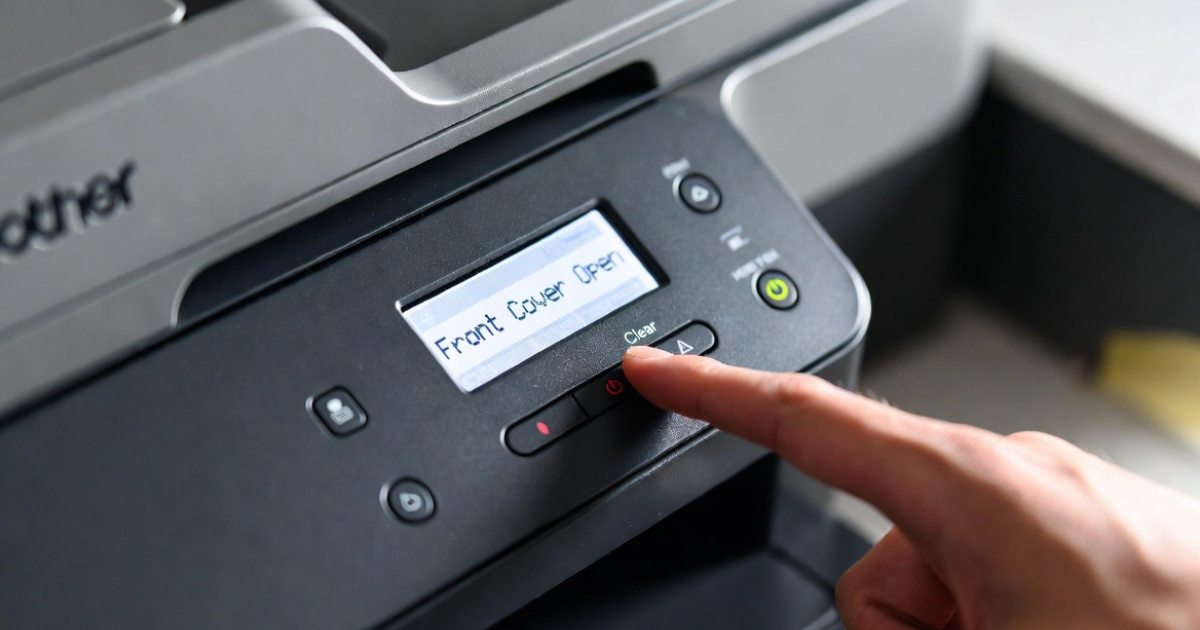
• Then, See the printer screen for the message ‘front cover is open.’
• After this Look for the ‘clear’ button on the printer’s front panel and press it.
• It will ask you ‘Replace Drum?’
• when it asked Instead of pressing 1, type ‘*00’ (star-zero-zero) on the keypad.
• It shows the message When you see the ‘Accepted’ message on the screen, close the compartment door.
• It helps you to reset the ‘Low Ink’ message.
Reset Low Ink Message in HL Brother Printer Series
• Firstly Open the front door of your printer.
• Then Turn off the printer.
• After this Turn on the printer while holding the GO button.
•After holding the button When you see all 4 LEDs light up, release the GO button. This will turn off all LEDs.
• Also, press the GO button twice. This will be on 3 LEDs viz. drum, paper, and toner.
Now press the GO button 5 times. The paper light will begin blinking.
This will solve your issue. Close the front door.
The above tricks solved your issues.
Also, the tricks to reset the low ink error message
The latest models of Brother printers include LED light sensors to check the ink level. The beam reflects back by hitting the ink in the cartridge, and the machine
Assumed the ink’s availability. It indicates low or empty toner when the light passes through. For more instructions according to the cartridge you are using:
Toner Cartridges: Covering both sides where you see a clear eye with black tape.
LC41 Cartridges: Covering the front part with dark-colored tape.
LC51 Cartridges: Cover the bottom part (square hole in the center) with dark-colored tape or permanent marker.
Ignore the error message:
At this time the error message shows up you can ignore it because the good news at that time is your printer prints well so you can ignore it. So, click on ok to continue on your printer and continue your printing process.
Reset
Use a simple reset process, if your printer doesn’t allow you to print. This also solved your problem.
• Firstly Take out the cartridge
• Then Turn off the printer,
• After this Unplug the power cord,
• Then, Wait for 5~15 seconds, then plug it back in,
• Also, Turn the printer back on.
Reinstall the cartridges.
After all the above reset steps, your printer started printing. Also if after this the printer doesn’t work please reinstall your printer driver.