

Setting up an HP printer on a Mac is simple when you follow the correct steps. You can connect the printer in two ways: with a USB cable or through a wireless connection such as Wi-Fi. In this blog, we will explain both methods so you can complete the setup without confusion.
About Mac and HP Printer Setup
Mac is Apple’s operating system for Mac computers. It works differently from Windows, but it also supports HP printer installation with the right tools. You can use the HP Smart app or HP Easy Start to complete the setup process.
Before you begin, make sure your printer is turned on and ready to connect.
How to Set Up an HP Printer on Mac with a USB Cable
If you want to connect your printer with a USB cable, follow these steps.
Step 1: Connect the Printer to Your Mac
Use a USB cable to connect your HP printer to your Mac. Make sure your Mac has an open USB port available.
Step 2: Open the HP Setup Website
On your Mac, open a web browser and go to 123.hp.com.
Step 3: Enter Your Printer Model
Type your HP printer model name in the search box and click Next. The website will guide you to the correct setup option.
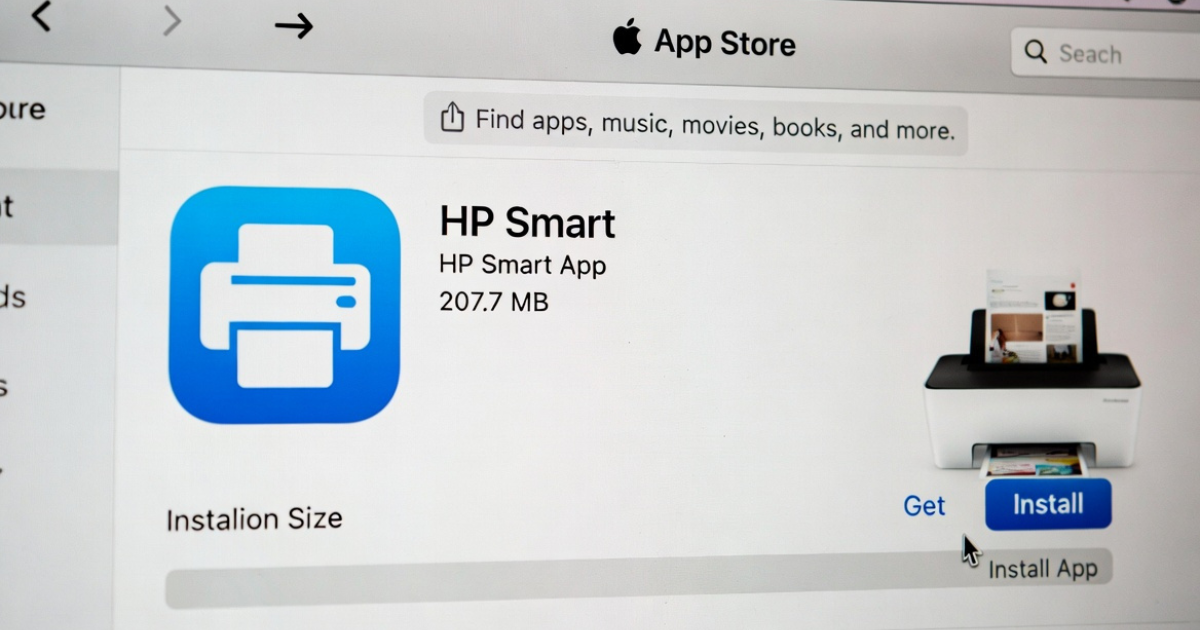
Step 4: Install HP Smart
Make sure your printer is powered on. Then, download and install the HP Smart app from the Mac App Store.
Step 5: Follow the On-Screen Instructions
After installation, open the HP Smart app. Follow the instructions shown on the screen to complete the setup.
Step 6: Add the Printer if Needed
If the setup does not start automatically, click the plus (+) sign in the app and add your printer manually.
Step 7: Start Printing
Once the setup is complete, you can begin printing from your Mac.
How to Set Up an HP Printer on Mac with a Wireless Connection
You can also connect your HP printer to a Mac using Wi-Fi. Follow these steps for wireless setup.
Step 1: Visit the HP Setup Website
On your Mac, open a browser and go to 123.hp.com.
Step 2: Enter the Printer Model
Type your printer model name and download the setup software.
Step 3: Put the Printer in Setup Mode
Turn on the printer and place it in setup mode. On many HP printers, you can do this by pressing the Wireless and Cancel buttons together for about 5 seconds.
Step 4: Reset Network Settings
When the printer shows the wireless or network menu, select the option to restore network settings or restore network defaults.
Step 5: Continue with Setup
Click Continue when the printer appears on the screen. If it does not appear, check again that the printer is in setup mode.
Step 6: Join the Wireless Network
Select your printer’s wireless network and join it using the correct connection. During this step, your Mac may disconnect from its current Wi-Fi network and connect to the printer.
Step 7: Allow HP Easy Start
HP Easy Start will open and may ask for permission to access your keychain. Click Allow to continue.
Step 8: Install the Required Software
The install page will appear. Review the software and driver details, then click Install.
Step 9: Enter Admin Details
When prompted, enter your Mac admin username and password, then click OK.
Step 10: Finish the Setup
After the installation completes, click Finish. Your HP printer is now ready to use on your Mac.
Final Thoughts
Setting up an HP printer on a Mac is easy when you use the correct connection method. You can connect with a USB cable for a direct setup or use Wi-Fi for wireless printing. HP Smart and HP Easy Start make the process simple and smooth.
Follow the steps above, and you should be able to complete the installation without trouble.