

How to setup an Hp Printer on a Mac
Setup Hp printers on Mac using with the two connections. The first is with the wireless connection, which means connected with Bluetooth or wifi and the other is to connect with a physical connection like a USB cable, ethernet that is the wired connection.
Mac that is an operating system, but different from the windows that started by the Apple corporation. It is much faster than the windows. The Mac is Apple’s computers by the apples that comes in a variety of form factors and designs.
So first we discussed about the the mac connection with the printer with the help of USB connection. So, above the following instructions that helps you to setup your printer.
• The first step is to install your hp printer in MacOS using the printer USB cable or and also with the HP smart app.
• For connection, make sure ab open USB port is available on your mac.
• Then, after this, on your Mac, open the browser and visit the website 123.hp.com.
• After the page open type your printer model name in the search box and click next.
• It shows the points for the complete setup using HP Smart.
1. Make sure your printer is powered on.
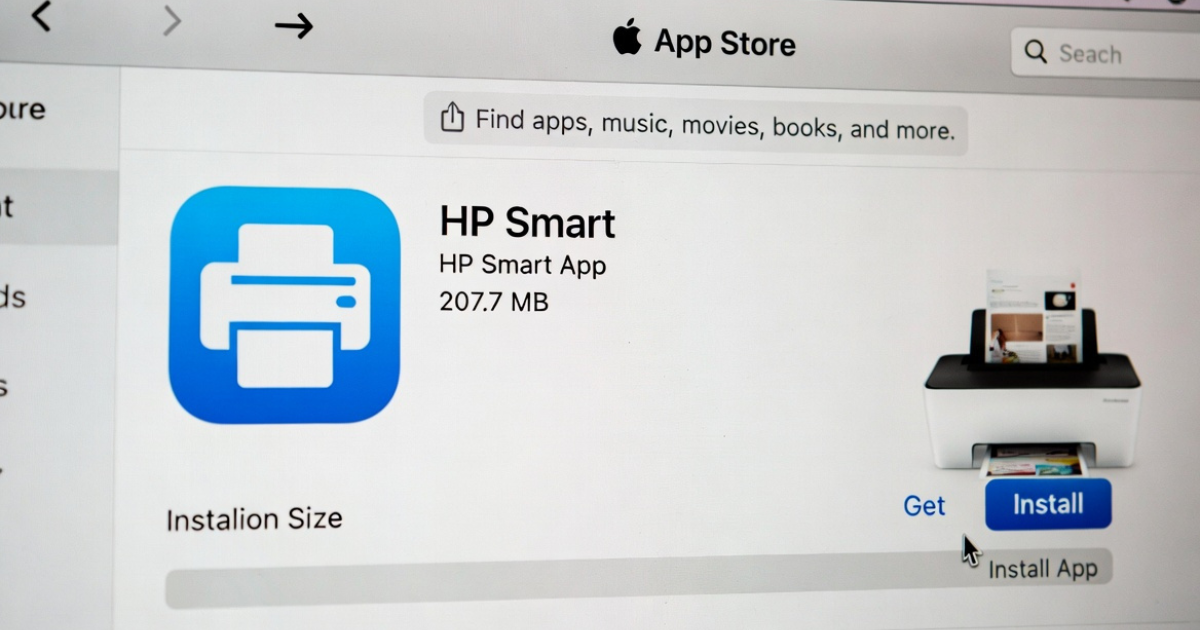
2. Install HP Smart to complete setup.
• Then, click install to download the HP Smart app from the Mac App Store.
• After the installation finished open the HP Smart app and follow the guided instructions that are displayed on your screen to set up.
• If the setup does not automatically begin, click the plus sign shown on your screen to add your printer.
• After all these steps, once your printer setup is complete, you can start printing from your Mac.
Now, above we can discuss the setup with the USB cable, and now we can discuss how to setup printer using a wireless connection on a Mac.
• First, on your mac visit the page 123.hp.com.
• Then type your printer model name and download the setup.
• For an easy Installation power on your printer and place it in setup mode.
• Then, for connection, press the wireless and cancel button at the same time for 5 seconds.
• You printer displays the settings of the wireless or network settings menu.
• Click on wireless and then select the restore network settings or restore network defaults.
• Click on continue, your printer is shown on the screen if not make sure your printer in setup mode.
• After selecting your printer, there is a wireless network shown join it with the right connection.
• Click on join, and the Mac will be automatically disconnected from your wireless network while it connects to the printer.
• The HP Easy Start runs, allowing access to your keychain.
• Then click Allow to connect it with the connection.
• Then shows you the install page, which shows the software and driver’s best features you need, then click install.
• Now, shows the page in which you enter your admin username and password, and then click ok.
• After all these steps, your installation will be completed. Click on finish and enjoy your printing.