
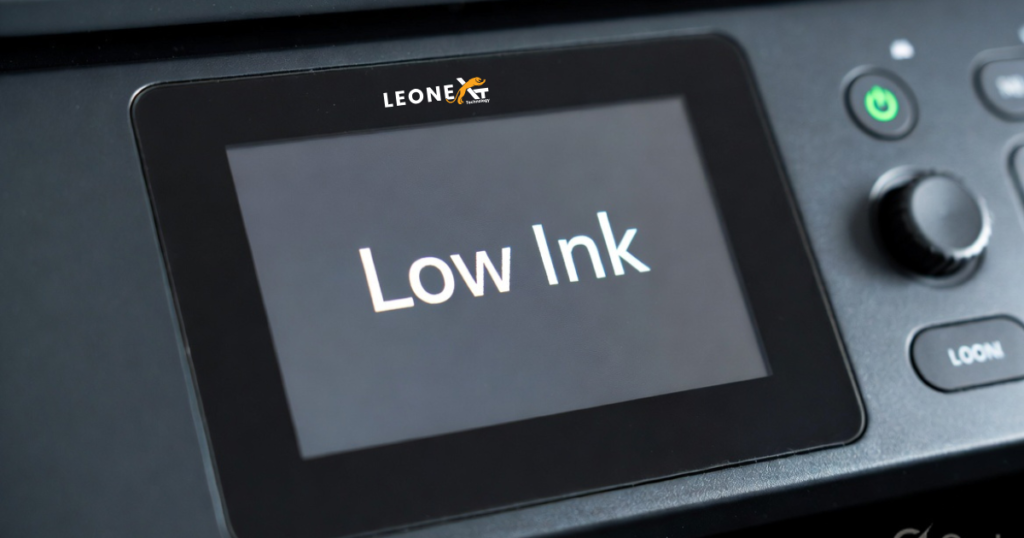
Dell Printer low ink error
At the time of printing, sometimes the printer displays the low ink on the screen and also prints the faded pages and blank pages.
This problem is faced by every printer user. If your printer doesn’t allow you to print, follow the same steps to solve this problem. It is also caused by the chip installed in your cartridge from the previous use. This cannot be reset, but when you refill the cartridge and then install it into a new printer, it will show as empty.
It is usual that your printer displays incorrect ink levels when using the ink cartridges. So some steps to
Follow:
Reset the printer: If your printer doesn’t allow you to print, usually, reset your printer by following some steps:

• In the first step, take out the cartridge.
• Then turn off the printer.
• Disconnect with the power cord.
• Wait for 10- 15 seconds, then connect it to the main plug.
• Also, turn the printer back on.
• In the last reinstall, the printer driver.
If, after reinstallation, you again see the ink low message on your printer screen, it means your chip has not been reset. Don’t panic, just ignore this message. After you installed new cartridge, the chip is automatically reset and does not show the low ink message.
These chips are installed inside the cartridges to record how many pagers were printed, and they cannot be reset. At that time printer reads the chips and tells you that the cartridges are empty, even it of full. That’s the reason why you are getting the ink low error message. The chip automatically resets when you install the new cartridge.
There are also some common causes:
1. Remanufactured cartridges.
2. Unremoved protective tape.
3. Not installed the cartridge properly.
4. Damaged ink cartridges.
5. No contact between chip and platform.
You can reset your Dell printer to solve this problem, and if it is still showing low ink, just ignore the message and print your pages.