
When setting up an HP printer, you may encounter a message requiring setup cartridges before the printer can operate. This situation is common with second-hand or refurbished printers, where the original setup cartridges are no longer available.
Fortunately, some HP printer models allow you to bypass the setup cartridge requirement and continue using the printer. In this guide, we explain the steps that may help you bypass the setup cartridge message and get your printer working.
Before You Begin
If you are purchasing a used HP printer from a garage sale, thrift store, or online marketplace, it is a good idea to check whether the printer is still under warranty. You can contact HP Support with the printer’s serial number or use HP’s online warranty-check tool to verify the warranty status.
It is also helpful to read online reviews before buying a used printer. Reviews can provide valuable information about common issues, maintenance requirements, and overall performance.
Steps to Bypass the HP Printer Setup Cartridge
Follow these instructions carefully:
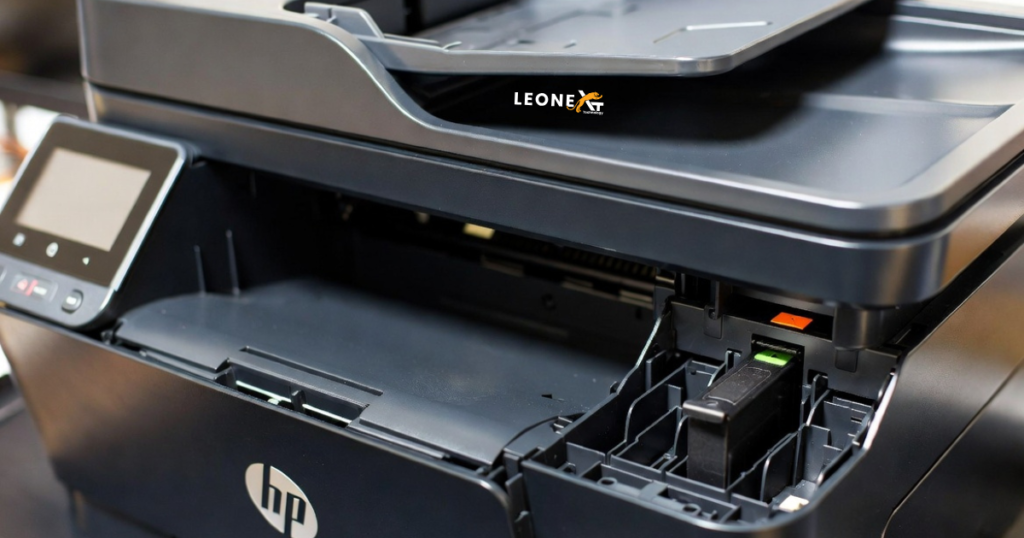
Step 1: Open the Cartridge Access Door
Open the cartridge access door and wait for the cartridge carriage to move into position. Allow the printer to fully stop before proceeding.
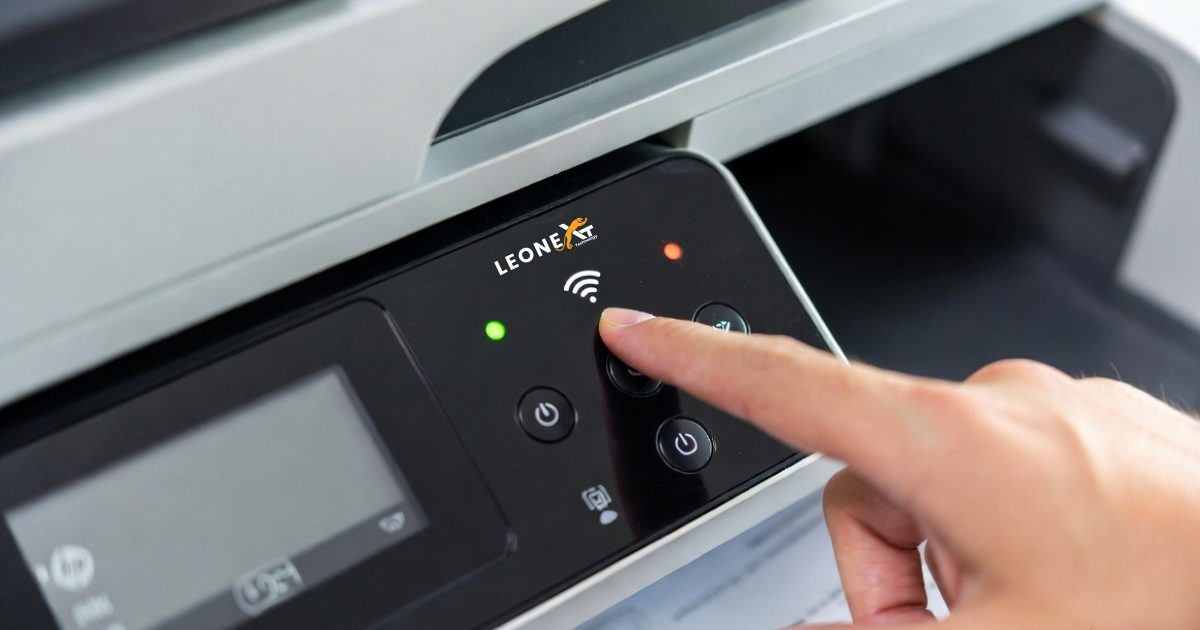
Step 2: Press and Hold the Wireless Button
Locate the Wireless button on your printer. The appearance of this button may vary depending on the printer model.
Press and hold the Wireless button for approximately three seconds.
Step 3: Close the Cartridge Access Door
After holding the Wireless button, close the cartridge access door.
Step 4: Allow the Printer to Reset
The printer may begin a reset process. You may hear internal movements or mechanical sounds during this stage.
Wait approximately 10 to 15 seconds for the process to complete.
Step 5: Load Paper into the Tray
Place at least two sheets of paper into the input tray. Ensure the paper is aligned properly.
Step 6: Wait for the Wireless Light to Stop Blinking
Once the reset process finishes, the blinking Wireless indicator should stop.
Step 7: Print a Test Copy
Press either the Color Copy or Black Copy button.
The printer should pull a sheet of paper and attempt to print. Even if there is no document on the scanner glass, the printer may produce a blank test page.
Step 8: Press the Wireless Button Again (If Needed)
If the setup message remains active, press the Wireless button once more.
Wait for the indicator light to stop blinking and check whether the printer becomes ready for normal operation.
What to Do If the Method Does Not Work
This procedure may not work on all HP printer models. Some printers require genuine setup cartridges before they can complete the initial setup process.
If the issue persists, try the following:
- Restart the printer.
- Update the printer firmware.
- Reset the printer to factory settings.
- Verify cartridge compatibility.
- Contact HP Support for model-specific assistance.
Conclusion
Bypassing the HP printer setup cartridge requirement may help when using a second-hand printer without the original setup cartridges. Following the steps above can resolve the issue on certain HP printer models and allow you to continue printing.
If the printer still requests setup cartridges after completing these steps, contact HP Support for further troubleshooting and guidance.