

Sharing your Outlook calendar makes it easier for colleagues to coordinate meetings. In Outlook on the web (browser), Outlook desktop (Windows or Mac), or the Outlook mobile app, you can grant others permission to see or edit your schedule. Below are the updated steps for each platform, along with the common permission levels and troubleshooting tips.
-
Outlook on the web (browser) – After signing in at outlook.office.com, click the calendar icon in the left pane to open Calendar. On the toolbar at the top, click Share and choose the calendar you want to share. Enter the name or email address of the coworker. Then set their permission level from the drop-down list – for example, you might select Can view when I’m busy (others see only your free/busy slots) or Can view all details (see full event info). The “Delegate” option lets them manage and share your calendar on your behalf. Finally, click Share (or the trash/remove icon to cancel).
-
After sharing on the web, your colleague will receive an invitation email. They must click Add this calendar (or Accept) in the invite to add it to their view. They can then click View Calendar in that email to open it. The shared calendar will appear in their calendar list (under Other calendars or People’s calendars). You can check or remove share permissions any time by right‑clicking the calendar name (under My calendars), choosing Sharing and permissions, and changing or removing users.
-
Outlook (Windows desktop) – In Outlook for Windows, switch to Calendar view, then click Share Calendar on the Home ribbon. Choose the calendar to share, click Add to pick people, then set each person’s permission (e.g., “Can edit”) and confirm. The person gets an email invite and adds your calendar as above. To stop sharing, go to Calendar Permissions, select a name, and click Remove.
-
Outlook for Mac – In the Outlook for Mac app, find your calendar in the left pane, right‑click it (or click the “…” button) and choose Sharing Permissions…. In the dialog that appears, click + and type the person’s name or email. Click their name, then use the Permission dropdown to pick a level (for example, Can view when I’m busy, Can view all details, or Can edit). Click Add or Done to send the share invite.
-
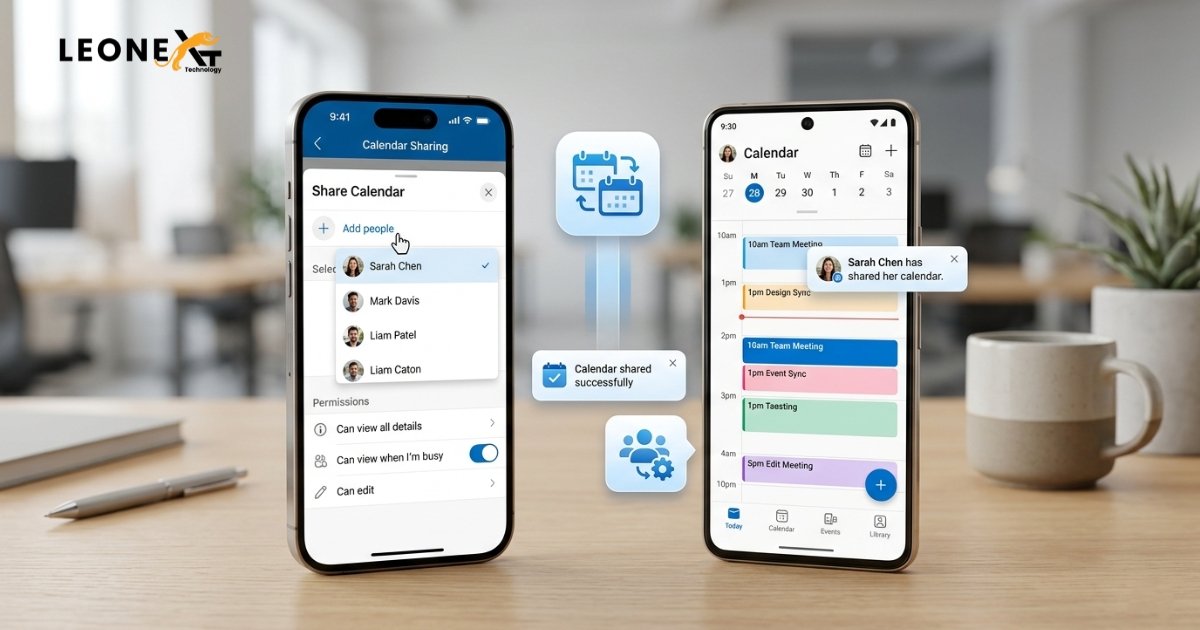
Outlook mobile (iPhone/Android) – Open the Outlook mobile app and tap the calendar icon at top-left to open your calendars. Tap the gear/settings icon at the top. Then tap Add people, select the contacts you want to share with, and set each person’s permission. (On some versions,s you tap a person’s name to change their permission or remove them.) Finally, tap the checkmark (✔) to apply sharing. The recipients get an email invite and can add your calendar similarly. To unshare or edit permissions later, reopen the same settings (tap gear and the person) and make changes.
Permission levels
When setting permissions, Outlook offers standard levels. For example:
- Can view when I’m busy – Others see only your free/busy slots (marked “Busy”), no details.
- Can view titles and locations – They see busy times plus event titles and locations.
- Can view all details – They see every detail of your events.
- Can edit – They can create and change events on your calendar.
- Delegate – They can edit and also respond to meeting requests on your behalf.
The level you choose controls how much of your schedule they can see or manage. For example, “busy” shows only blocks, whereas “all details” shows full events. When you’re done setting permissions, click Share (or OK on desktop). The person’s name then appears in your sharing list (with their permission level).
Troubleshooting: Why you might not be able to share
- External or invalid address: If the email is outside your organisation (or if your admin has disabled external sharing), you may not be allowed to share with them. Likewise, a mistyped or non-Exchange address will cause failure. By default, Outlook may limit sharing to your own organisation. Administrators can change this in the Microsoft 365 admin center, but if it’s disabled, sharing outside is blocked.
- Microsoft 365 (Office 365) group: You cannot share a personal calendar directly with an Office 365 group. (A shared mailbox or assigning permissions to a security group is the supported method for group calendars.) If you try, Outlook will give an error.
- Other policies: If you see an error like “This calendar can’t be shared,” check that there are no duplicate entries and that the address is correct. Also, ensure your account is on an Exchange/Microsoft 365 server (IMAP accounts may not support sharing).
In summary, share via the built-in Share controls on each Outlook platform, choose the right permission, and ensure recipients can accept the invite. If sharing fails, confirm that the person’s address is valid, that your organization allows the share, and that you’re not trying to share to an unsupported group.
Sources: Microsoft’s Outlook documentation for calendar sharing steps and permissions, plus community guides on common sharing errors